
SUMMARY
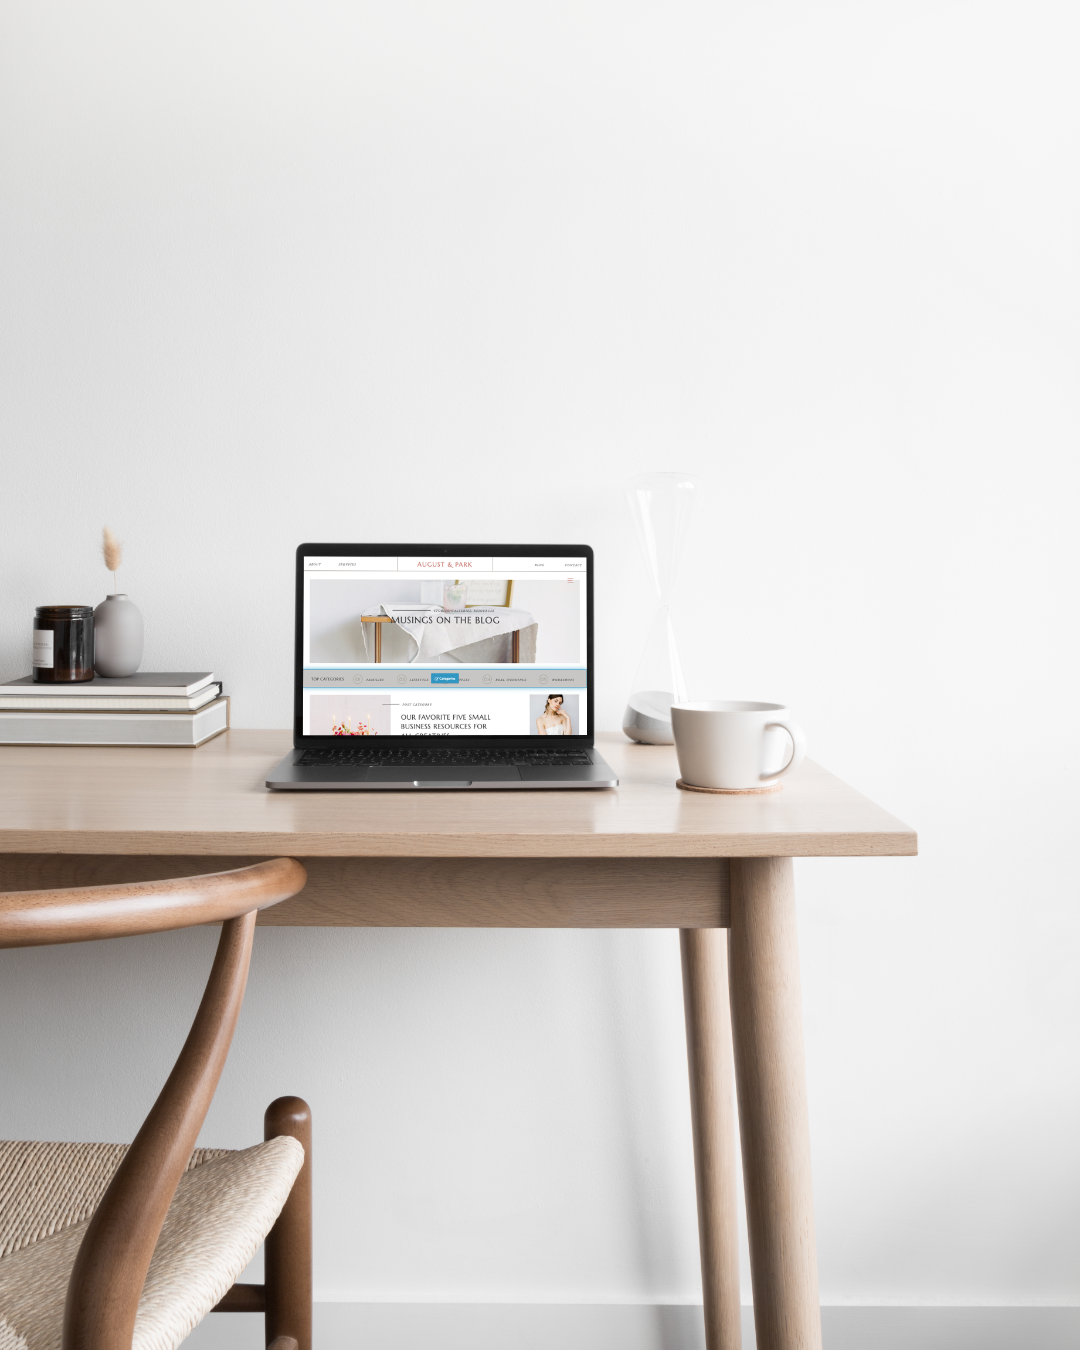
Wondering how to update the categories on our Showit website template? These blog categories are important to make blog posts organized and easy accessible to your readers. For this walk through I’ll be using our Showit Website Template – August & Park. If you aren’t using this template, don’t worry. The process will look the same for any Showit website!
*Please note that you will need WordPress set up and ready to connect to!
IN THIS TUTORIAL YOU’LL LEARN:
- How to update text on screen
- How to create a new category in WordPress
- How to update click actions for blog categories
Changing category names in Showit
This is simple and easy, operating like any other text editor. Simply find the category navigation bar where the categories are listed out. Double click on the text and the bounding box will appear with a blinking line indicating that the text editor is selected. Simply backspace the category and replace it with your category. Repeating for the rest of the navigation bar.

Creating a New Category in WordPress
After changing the title of a category name on your Showit site, you’ll need to make sure you also have a category of that same name added to your WordPress site.
To add or update a category, log in to WordPress. On the left hand side, go to Posts > Categories.

Here you can add a new category, organize or edit existing ones, and get the link for your category pages.

Updating Click Actions for Blog Categories
Now that the navigation bar is reading as the updated categories and we have the corresponding categories set up in WordPress. We need to make that navigation bar function properly. To do so, select the category text once again. With the text selected, open within the right hand menu the tab ‘click actions’. You will be met with a section that reflects the image below. Select the ‘URL’ box and replace the ‘slug’ term with the updated ‘slug’ term from WordPress. Should look something like “/category/YOUR-CATEGORY”. Repeat for the rest of the navigation bar.

There you have it, a short and easy process that can be done in just a few minutes to make your blog posts organized and accessible!
MORE QUESTIONS?
If you have any questions as to how to do anything within your Showit website feel free to send us a message requesting a walkthrough!
free

Get Access Now!
