
SUMMARY
Podcasts have become a very common progression of content creation for many different industries. From personal experience I know that it is very rewarding work and a great way to get more personal with your audience. So if you’re ready to give a podcast a shot, allow me to help you set up a section on your website to generate more traffic to this content!
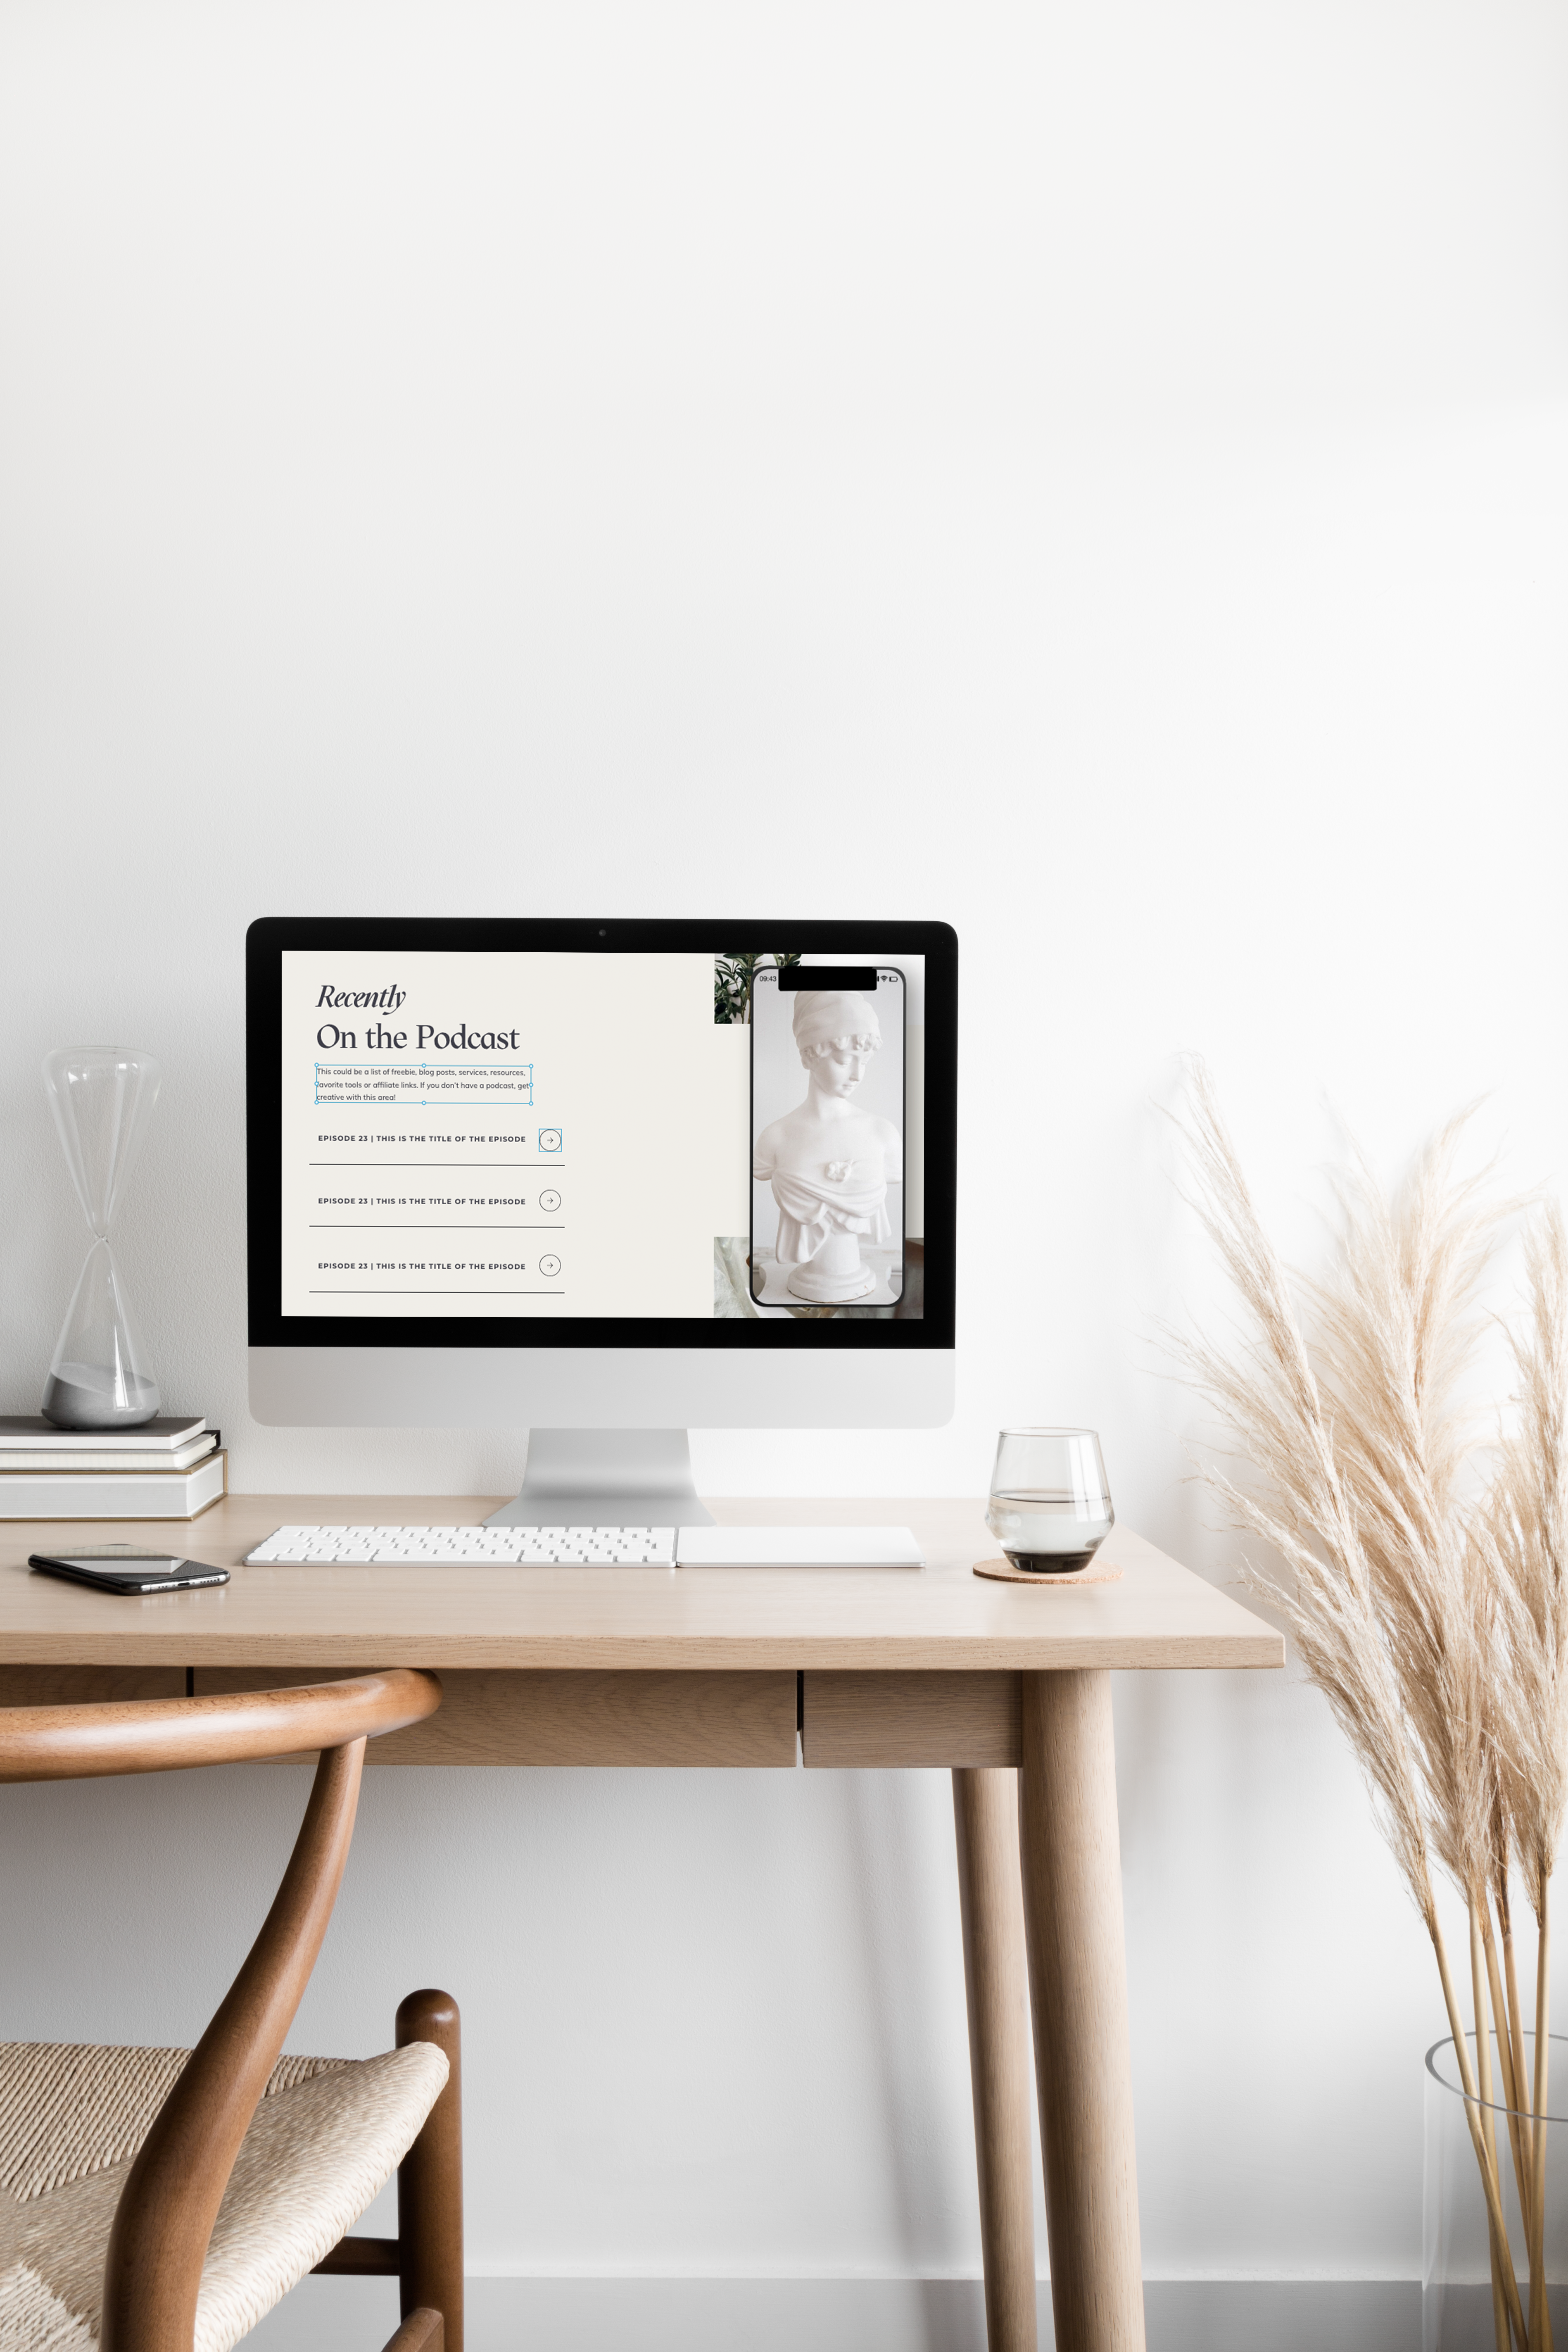
Join me as I walk you through the process of adding a podcast section to your Showit website! For this walk through I’ll be using our up and coming Showit Website Template – Jolie & Jasper. This template comes with a podcast section on the home page. So I will show you the functionality behind the section in order for your section to work properly!
*Please note that you’ll need to be on a Showit subscription with the basic blog feature and WordPress set up.
IN THIS TUTORIAL YOU’LL LEARN:
- How to add a new canvas
- How to set up the functionality (a few different options to choose from)
- How to create a new category in WordPress to organize podcast blog posts together
Adding a New Canvas
To start the process of building a podcast section, simply add a new canvas by clicking the three dots on the page tab and choosing ‘add blank canvas’. This will automatically be added to the bottom of the page, grab a drag this section within the menu a drop where you’d like it to be located within the page. We are going to rename this canvas to ‘Podcast’. To do so click on the three dots and choose ‘Rename’ at the very top and type the new name into the text box that opens up. And save.
To adjust and customize this canvas, select the canvas, in the right menu change the canvas background by selecting a color and adjust the size of the canvas by either clicking and dragging the bottom line or selecting canvas in the right menu and type a size in pixels.
Now that you have a new canvas to work with, design your podcast section to look how ever you please. Just be sure to keep within the same style as the rest of your website. This can mean referencing layouts from other canvases, observing elements used throughout, and stick to your design settings in means of your text styles and color palette.
Making your Design Function
Once you’ve designed the canvas, it’s time to make it function.
When it comes to making this section function we have quite a few options as to how and where your buttons will be linked. Our first choice to make is wether you’d like the buttons to click to the podcast episode it’s self or to a blog post of show notes around the episode. I recommend writing show notes for each episode of your podcast. This creates more content for you to work with without creating too much work for yourself. Doing so will also keep the traffic coming to your website on your website for longer rather than pushing them out to a third party podcast host.
Now with this in mind, comes our next choice to be made. We now need to decide wether you’d like to connect your home page to WordPress or use a URL to link these button to where they are going. Obviously if you opt for having your buttons click directly to the podcast episode you will simply use the URL to the episode. However this option also applies for if you do opt for writing show notes for each podcast episode. This being that you can manually update your buttons to go to your show notes by using a URL link as well this option requires you to go in and plug in the links for said show notes yourself & swapping them out as you see fit. Or if you are willing to put in some extra effort in upfront to connect your homepage to WordPress, they can be auto updated for you.
Take a moment to decide which option you’d like to go for. You may want to take a look at the process for each to help you decide. (Though I recommend connecting your homepage to WordPress).
Linking to a URL Link
The process of linking your buttons through a URL is simple. First select the podcast episodes that you would like to feature within this section. Once you have them selected, update the text to reflect the episode number and title. With the text box still selected, open the ‘Click Actions’ tab within the right menu. Within the ‘Type’ drop down box, select ‘URL’. A box will appear under the drop down. Simply copy and paste in the URL to the episode or show notes for the one specified in the text. Now select the arrow icon next to the title on screen. We will make this click to the same location by repeating the same process : within the ‘Type’ drop down menu, select ‘URL’. A box will appear under the drop down. Simply copy and paste in the URL to the episode or show notes. Repeat this process for the other two sets of buttons below.
Linking to Connect to WordPress
Swap your left menu from ‘page’ to ‘site’ with the ‘home’ section selected. Select the three blue dots and choose from the drop down ‘Copy to WordPress’. Upon scrolling


*Ignore the last step if you opted for linking your buttons to the podcast episode it’s self.
down to the ‘blog templates’ section of this tab you’ll see that ‘Home-1’ has been added. Before we continue on, go back to the original home page and click those three dots again, choose from the drop down ‘Rename’. You’ll want to rename this page to ‘Home – DON’T EDIT’ this will be a reminder to yourself as you edit your website that the new home page under ‘blog templates’ is the page that needs to be edited. Once you’ve done so, scroll down and rename ‘Home-1’ to ‘Home’.
Now using the blog template we just created swap back into ‘page’ and go into the podcast section. Click and drag over the top episode title and icon to select both. With these selected click the three dots next to ‘podcast’, select from the drop down ‘add canvas view’. Then drag those elements into the new folder. Repeat this process for the other two.

Open the top folder. Select the episode title, open the tab ‘text properties’ and assign a placeholder by opening the drop down menu and selecting ‘post title’. This will automatically turn this text into a button and replace our placeholder text with a blog post title. Repeat for folders 2&3.
Open the top folder once again. This time select the icon, open the tab ‘click actions’ within the ‘type’ drop down box, select ‘Wordpress post’. This will turn our icon into a button as well. Repeat for folders 2&3.

*The rest of this process will be done by Showit when you launch your website.
**If your website has already been launched and connected to WordPress, visit this blog post, in order to learn how to connect your home page to WordPress.
Creating a New Category in WordPress
Regardless of wether you decided to connect your show notes to WordPress or not. You will still want to have a category within your blog to group all the blog posts related to your podcast together.
To add or update a category, log in to WordPress. On the left hand side, go to Posts > Categories.

Here you can add a new category, organize or edit existing ones, and get the link for your category pages.

Now in the future (and in any past blog posts) related to your podcast, you can categorize them all together.
MORE QUESTIONS?
If you have any questions as to how to do anything within your Showit website feel free to send us a message requesting a walkthrough!
free

Get Access Now!
